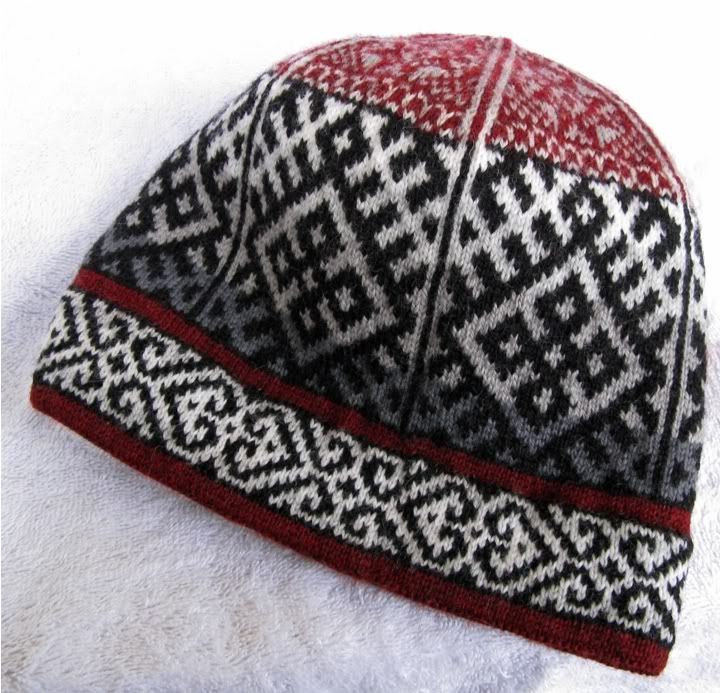
yarn: Knitpicks Palette
needle: US size 1 (2.25 mm) for body
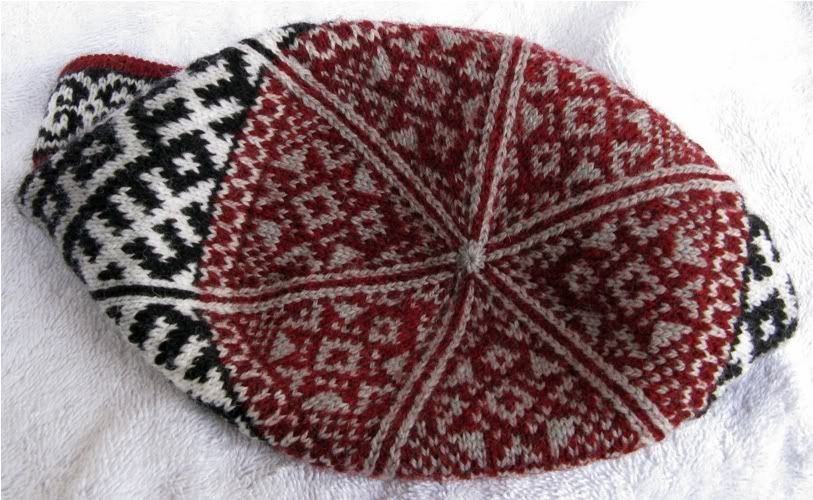
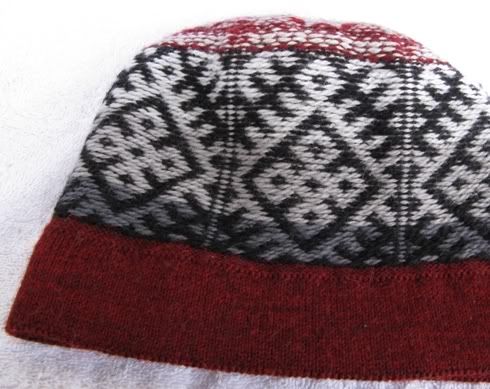
For the inside-out colorwork fans
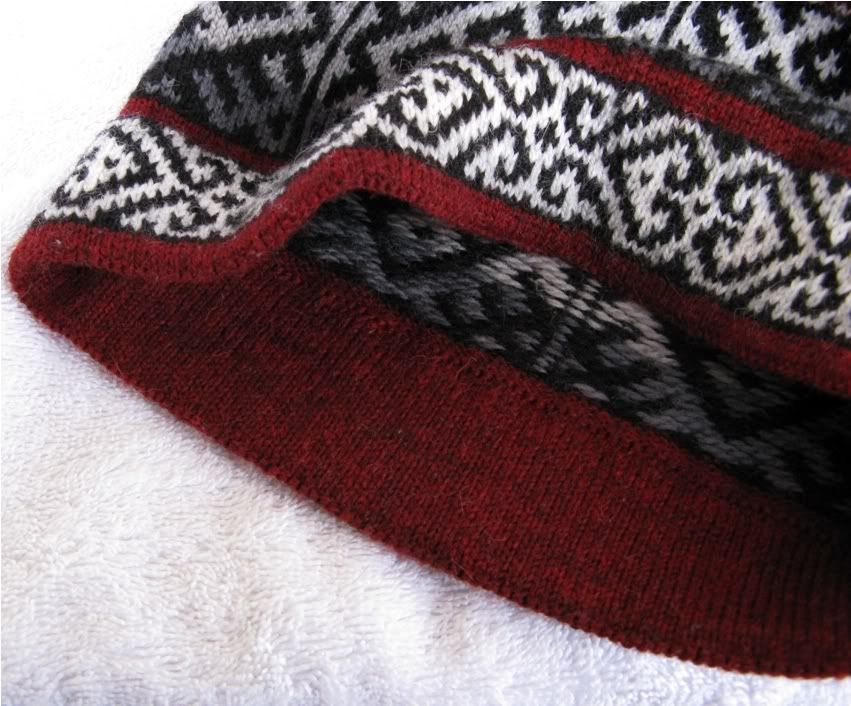
This hem takes more time than ribbing but I think it's worth the end result. I like how clean it looks and it yields more room to show colorwork. We don't need to waste an inch or so on ribbing before we get to the good stuff. You can also use ultra soft yarn, like angora, on the inside.
For this hat I used three needle sizes: US 0, US 1 (2.25 mm), and US 2. I'll write the following overview with that in mind, the little details change depending on your gauge, your needles, and your pattern. This is an overview of how it works and not a set of instructions.
1) I cast on the same number of stitches (204 stitches) that will be used for the main part of the hat, using a provisional crochet cast-on with thin cotton string over a size 2 needle. The cotton scrap will later be removed.
2) Knit 1 round with the size 2 needle.
3) Switch to the size 0 needle and knit ?? rounds (?? = depends)
Determining how many rounds to knit with the smallest needle is a little tricky if you want to join the hem to the body at a specific point (like between two charts). If you're knitting a plain hat or don't care then it isn't a problem, just knit about 1.5" and PURL 1 round before starting the outside of the hat.
If you care where the hem is joined to the hat body then you can swatch and do the math (determine the difference in row gauge between the size 0 needle and the size 1 needle). I prefer to make an educated guess and then add some rounds to the hem if more rounds are needed to match up to a specific round on the body. To add more rounds simply release the stitches from the cotton string, put them on the size 2 needle, and knit as many rounds as you need. (These stitches won't unzip from the cast-on edge the same way they easily unzip when you frog back to fix a mistake. For this reason it's probably better to under-estimate how many rounds you need for the hem.)
4) Purl 1 round, this makes a crisp fold line.
5) Switch to the size 1 needle and knit the body of the hat until you reach the point where the hem should be secured to the hat.
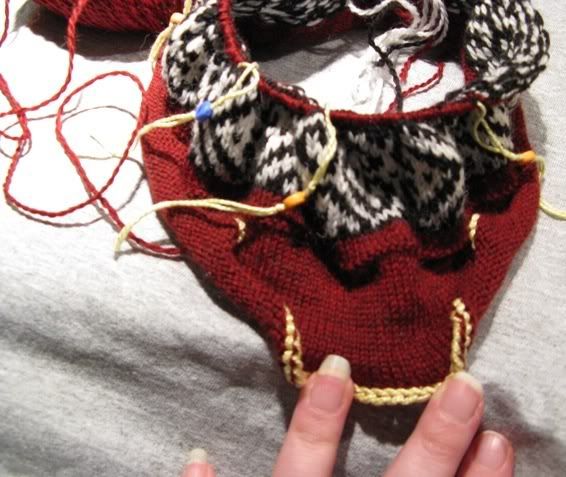
6) Consider duplicate stitching a 1" horizontal line in highly contrasting yarn on the inside hem to mark the back of the hat. (The back of the hat is usually where the jog happens -- where the rounds start and end.) You can get fancy and duplicate stitch more than a line, like initials or the year.
7) This step is kind of obvious, but important. Weave in all ends. You're closing up the hem so you won't later have access to any ends that will be hidden inside the hem.
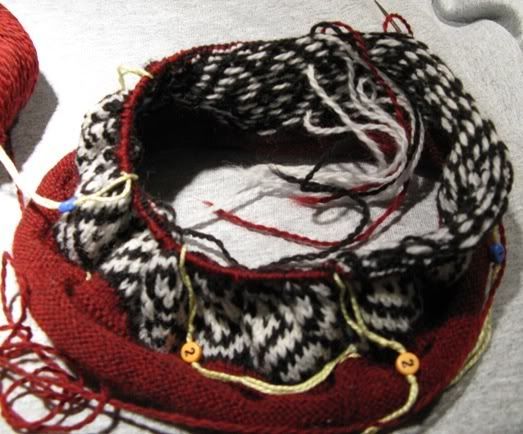
8) Release the 204 held stitches by pulling out the cotton string, it should unzip easily if you pull from the correct end. That's the end with the 204th (final) stitch. Put them on a spare 16" circular needle (the size 0 works better than the size 2).
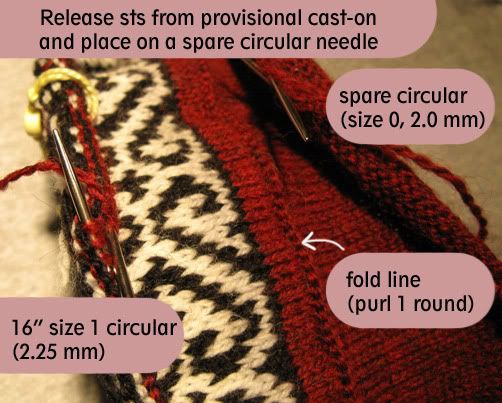
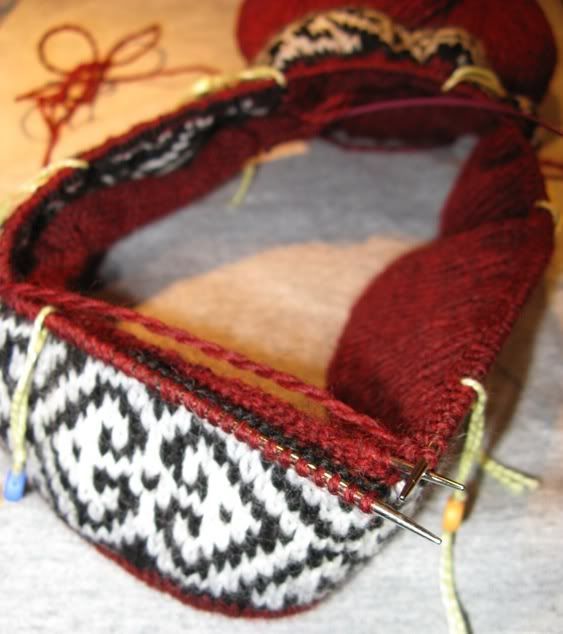
9) Fold the hem in half (it will want to fold at the purl round, no special effort required) and stuff it up inside the hat. At this point you'll be holding two circular needles together. The inside needle (size 0) will have the hem stitches, the outside needle (size 1) will have the main hat sts. Working in pattern, knit 1 st from the outside needle and 1 st from the inside needle together. Continue working around until all 204 hem sts are secured to the hat and the spare size 0 needle is empty. You'll still have 204 sts on the size 1 needle.

I love it!